
Because the individual elements are designed to fit each other, the installation of the Böger-Systemklinker® is understandably easy.
1. The Böger-Systemklinker® start rail is attached first. The system requires no foundations, making excavation and foundations unnecessary.

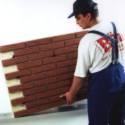
2. The Böger-Systemklinker® - panels and the project-matched clinker corners and lintels are directly attached and fixed.
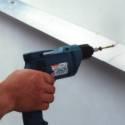
3.  After aligning the building corner, it is fixed using 4-6 clinker system frame dowels.
After aligning the building corner, it is fixed using 4-6 clinker system frame dowels.
4. The Systemklinker wall elements and the custom-made, prefabricated corner elements are attached directly and are fastened permanently and firmly with the special wall plugs.
The panels are fixed with approx. 8 screws and through dowels in the moulded fixing sleeves provided, which enable constant anchoring of the elements without applying a pressure load onto the thermal insulation. This ensures the panels are securely and durably attached, even on critical building walls.
The panels are fixed with approx. 8 screws and through dowels in the moulded fixing sleeves provided, which enable constant anchoring of the elements without applying a pressure load onto the thermal insulation. This ensures the panels are securely and durably attached, even on critical building walls.
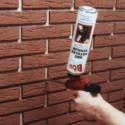
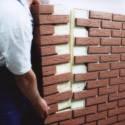
5. An all-round foam cavity is created between the elements, which ensures the flush joining of the elements together and seals all butt joints after foaming. All elements are then pointed evenly by hand.

6. The joints are finally filled manually with jointing mortar.
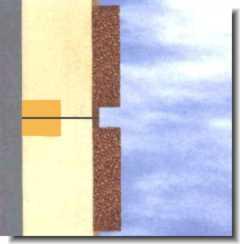 A prescribed foaming groove with injection holes ensures that no insulation value losses and cold bridges result, the panels are as if welded to each other. As a homogenous structure, the Böger system therefore surrounds the house like a closed jacket.